Summary :
In over all website development process, Most important part is to host a website. You Might have seen there are many post which will help you to host any PHP or WordPress website. Very few of them will explain about ASP dot net Hosting. Today we will discuss and see Step by Step guide on How to host a ASP Dot net website on any hosting server. The process that we are going to discuss today will be applicable for any hosting service like , Bluehost, HostGator, Godaddy, HostPapa..Many more....
Hosting Suggested : Windows only
Firstly Lets start : How to host a ASP Dot net website on any hosting server
INDEX
Setup Domain with Hosting (C panel)
Host Dot net based website using C Penal
Move all file from your local to Hosting server
Move your database from local to Hosting server
Configurations
Tips and key points
Conclusion
Firstly lets discuss Step 1 : Setup Domain with Hosting (C panel)
There can be two possibilities like,
- First one your domain and hosting are with same service provider (For example you purchased domain and hosting both from Bluehost or Hostinger). In Such instances we need not to do much setup. Your hosting provider himself will give one option to setup cpanel and then it will ask you your domain that you want to link. In most of the cases its king of automatically get linked.
- Second one your domain is with one service provider, Hosting with other service provider. (Like domain you purchased from Godaddy and hosting with HostGator. in Such case you have to update name server or hosting IP:
Let me explain in detail :
- You have to login on the portal from where you have purchased domain.
- Go to your products or domain list..
- Click on Manage DNS.
- Search for Name Servers,
- Now open the welcome mail you got from your hosting service provider.
- you will find your hosting name server or IP there.
- Copy name server and save there.
- Now you are ready to Goo.
- It will take some time some time it takes 5 min some time 24 hors depends upon your service provider.
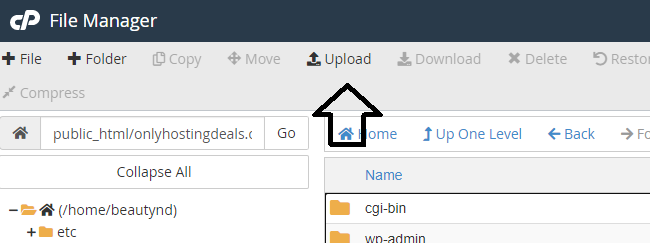
Step : 2.1.1 Open cPanel : Click on File Manager
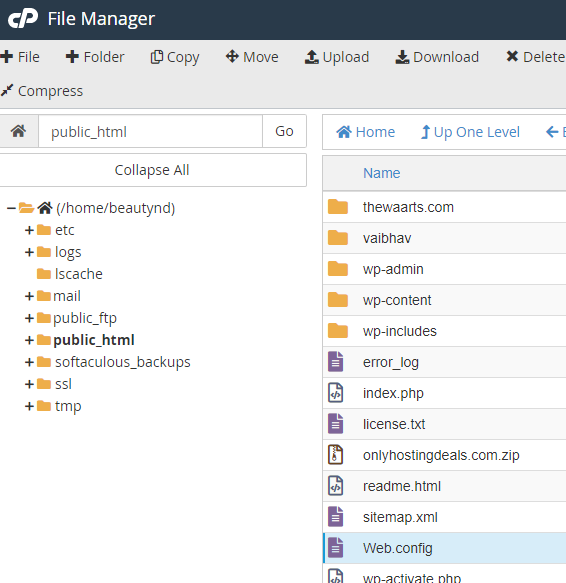
Step : 2.1.2 Click on : Public HTML
Step : 2.1.3 Open your domain folder
Step : 2.1.4 Right now folder will be empty or having default files now click on Upload file
Step : 2.1.5 Zip all your project files and click on upload
Step : 2.1.6 Right click on zip folder and extract like below
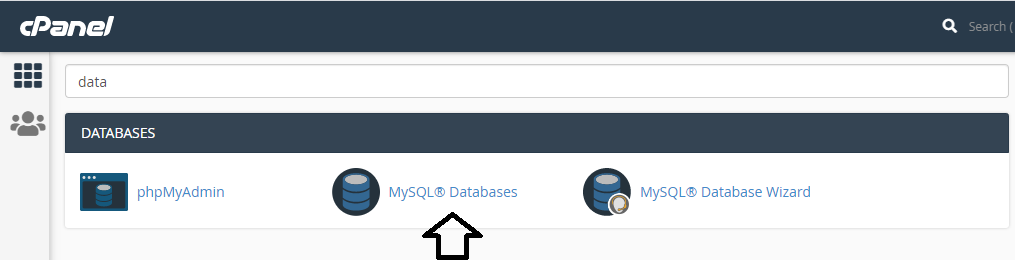
Step : 2.2.1 Create data base using DB wizard follow below image
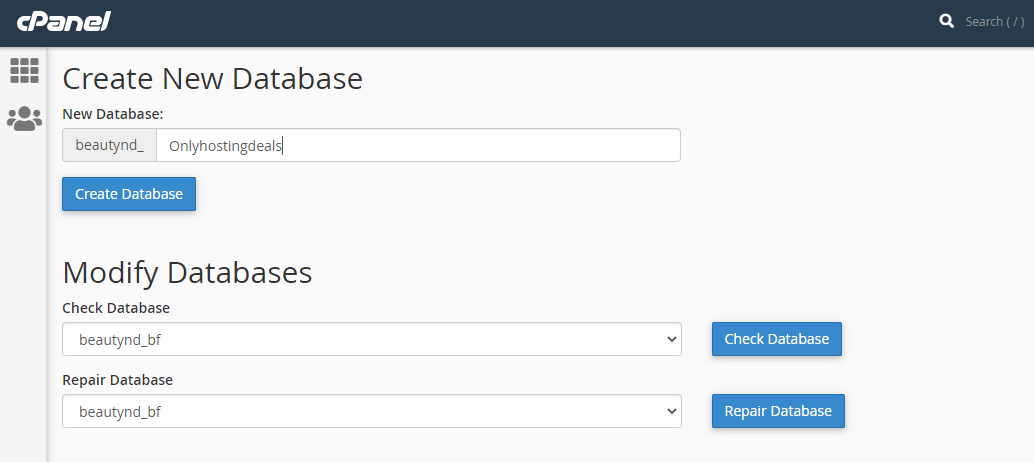
Step : 2.2.2 Create a new database by giving its name and click on create
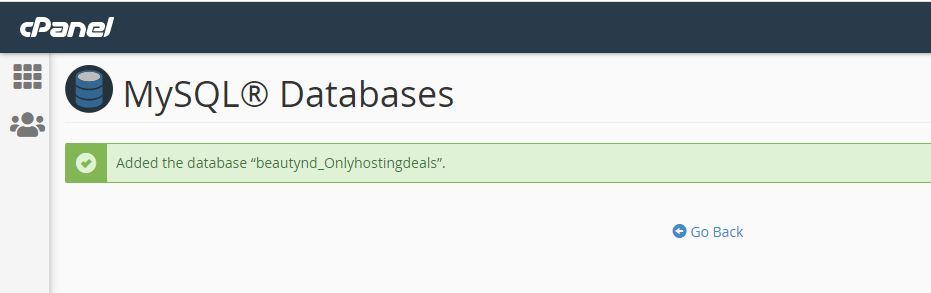
Conformation :
Step : 2.2.3 After Create data base now create database user
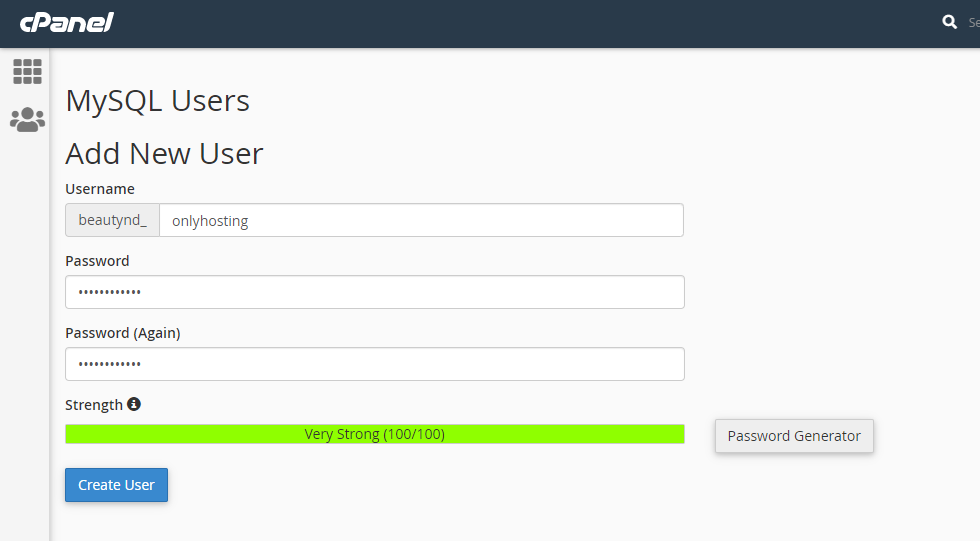
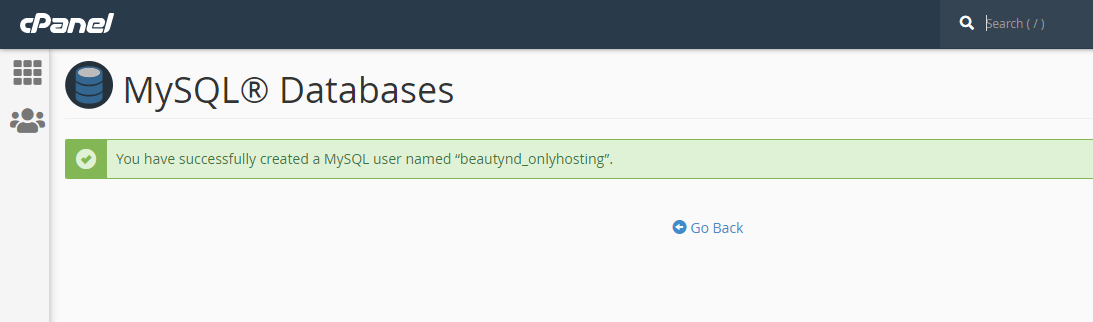
conformation :
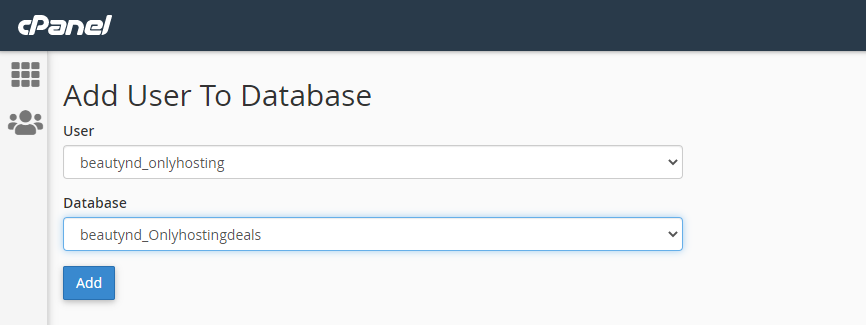
Step : 2.2.4 Now we have our database and DB user now lets map them
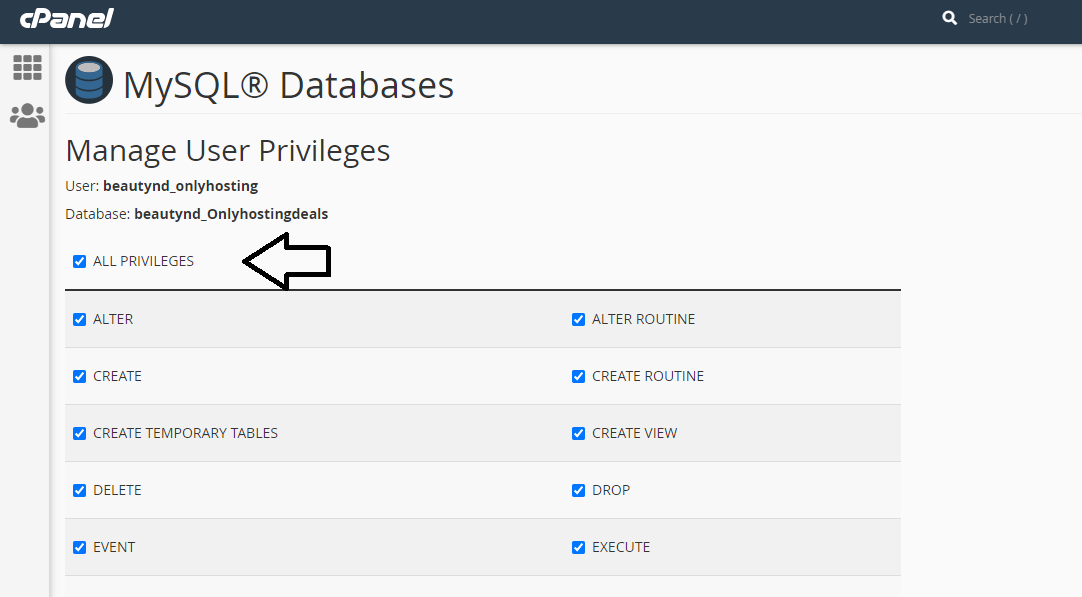
Step : 2.2.5 Its time give all privileges to access from our Website
Step : 2.2.6 Last part is to upload our Data table and everything into newly created database, go to Cpanel and click on PMPmyAdmin
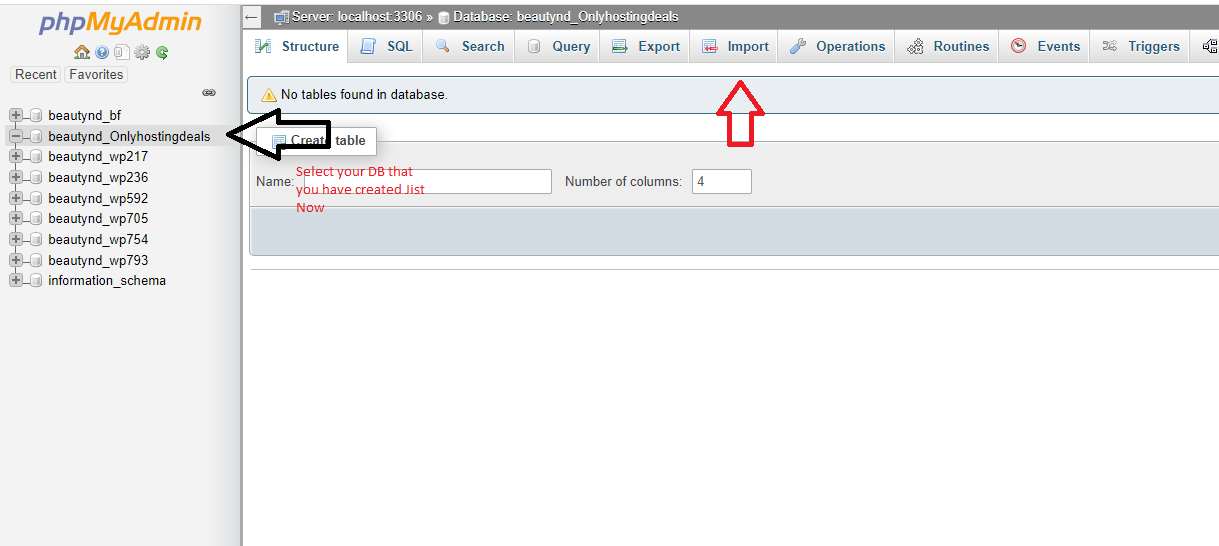
Step : 2.2.7 Select the database that we have created in previous steps and click on Import
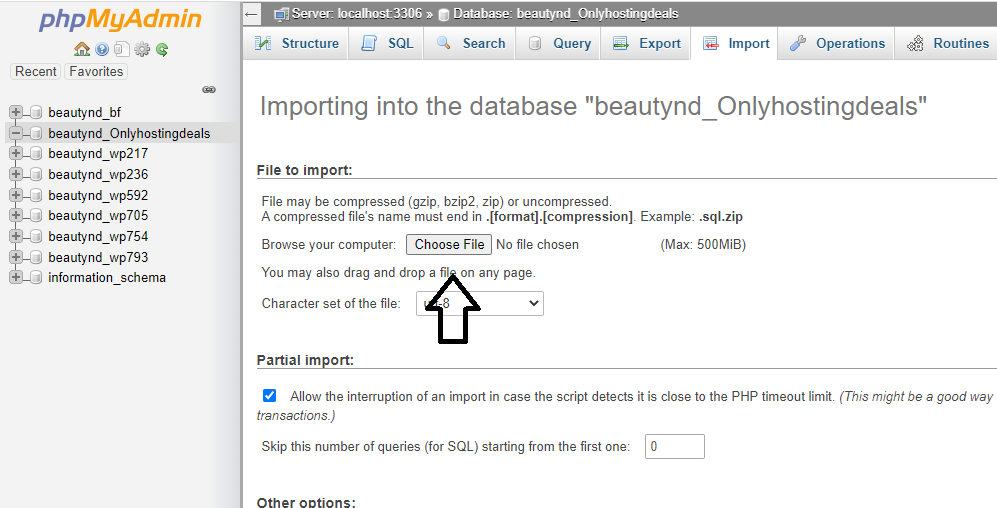
Step : 2.2.8 Now last step for setting us database select the file and click on “Go” button below
Now our first and second part is over for moving the files and Database creation. now lets check our website :
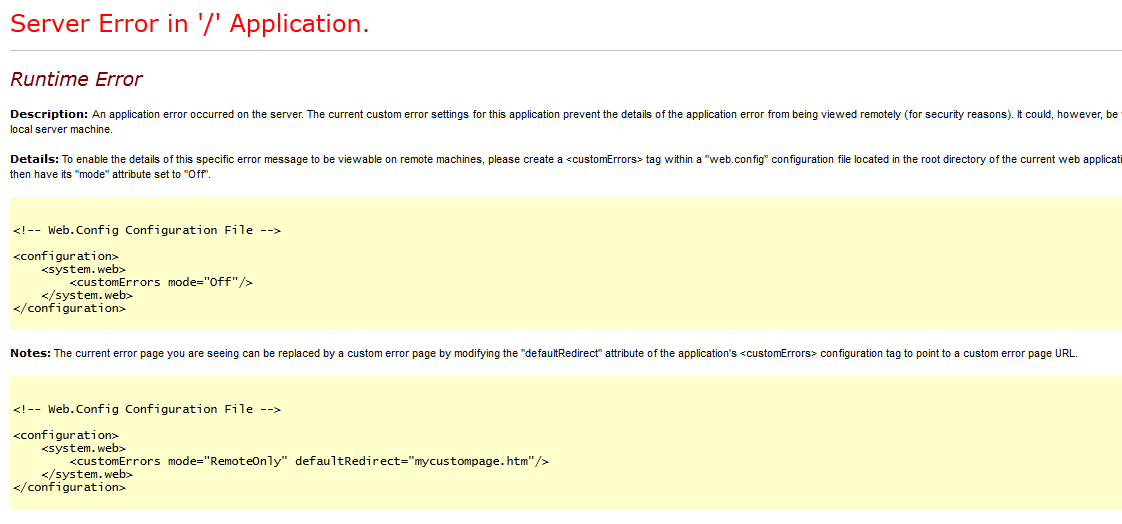
Step 2.3.1 Oops got this error don’t worry we missed to do dot net settings
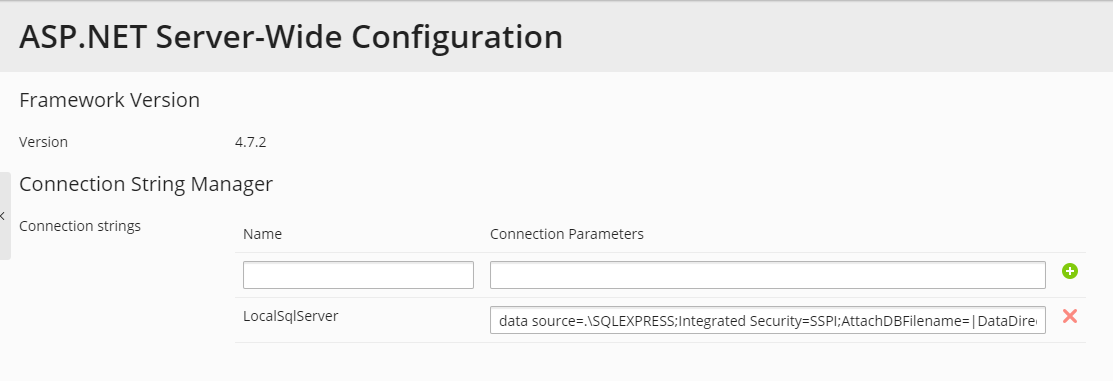
Step 2.3.2 Go to your windows hosting cPanel and search for ASP dot net settings
Step 2.3.3 Update connection properties
Step 2.3.4 Open File Manager and edit web.config file
Step 2.3.5 Add below two lines on web.config files
<customErrors mode =”off”/>
<trust level = “full”/>
Yeeyyyy Now you are ready to Goo
Tips and tricks
Below are the Most important tips can be say keys of success to move any website from local to server :
- Keep all files and database handy.
- Choose right hosting (Don't go for any very cheap hosting or any very expansive hosting, always ho for budget hosting like Hostgator, bluehost, Hostinger). There are few hosting provider like Greengeeks & Hostpapa who use ecofriendly energy, by using them you can contribute to nature as well.
- Follow the steps one by one and save after each step tp avoid data loss.
Conclusion :
To Summarize host any website from local to server is not a big deal, only you need to make sure about right step and process. As example we have mansion all steps above.